 Save to Pinterest
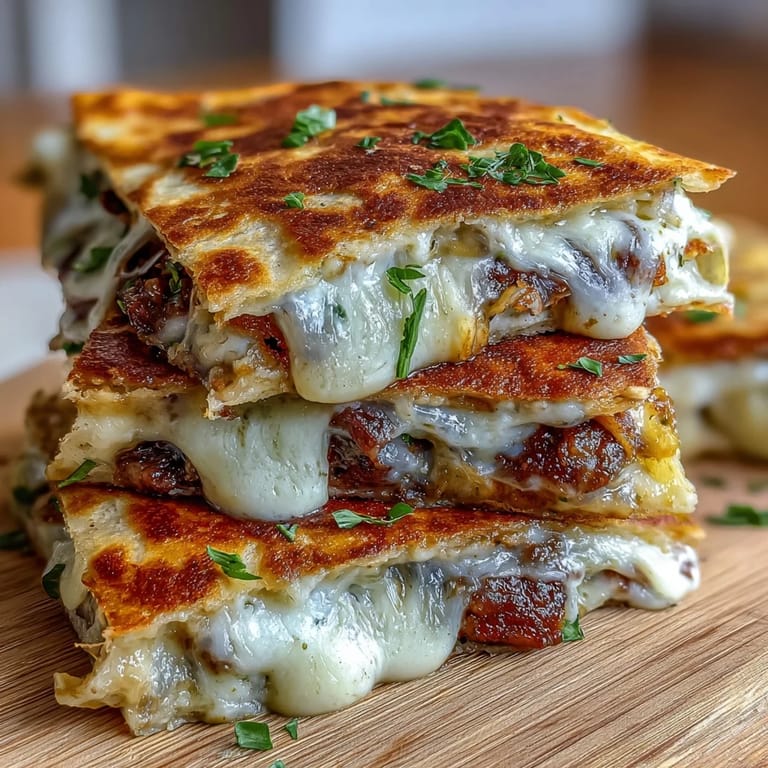
 My nephew showed up to Easter brunch with a drawing of a bunny he wanted to eat, and I realized right then that I needed to make food fun again. These quesadillas came together almost by accident—I had tortillas, cheese, and a bunny cookie cutter gathering dust, and suddenly there was magic. The kids didn't just eat lunch that day; they were delighted by their meal before it even hit their plates. It turns out, making food adorable doesn't require fancy skills, just a willingness to play in the kitchen.
I watched my sister's face light up when she walked in and saw six little bunny quesadillas lined up on the platter, each one decorated with olive eyes and carrot noses. She turned to me and said, "You made these look like they could smile," and honestly, that's when I knew this recipe was going to stick around. Cooking for people who find joy in the small details reminds you why you started cooking in the first place.
Ingredients
- Large flour tortillas: Six of them form the base and structure, and they need to be fresh enough to cut cleanly with your cookie cutter but sturdy enough to hold everything together.
- Shredded cheddar and mozzarella cheese: The cheddar brings sharpness while the mozzarella melts like silk; together they're the heart of every bite.
- Diced bell peppers and sweet corn: These add color, texture, and sweetness that balance the richness of the cheese without needing extra salt.
- Unsalted butter, melted: A light brush on top creates that golden crispy finish that makes people think you've been cooking all morning.
- Black olive slices and baby carrots: These aren't just decoration; they're the personality of the dish, and kids will specifically look for them.
- Fresh parsley or cilantro: The sprigs become whiskers and add a fresh herbaceous note that keeps these from feeling one-dimensional.
Tired of Takeout? 🥡
Get 10 meals you can make faster than delivery arrives. Seriously.
One email. No spam. Unsubscribe anytime.
Instructions
- Heat your oven and prep:
- Set the oven to 375°F and line your baking sheet with parchment paper so nothing sticks and cleanup is effortless.
- Cut your bunny shapes:
- Use your bunny cookie cutter to carefully punch shapes from each tortilla; if you don't have a cutter, trace a template and cut with a sharp knife. You'll get about two bunnies per tortilla.
- Build the base layer:
- Arrange half of your tortilla bunnies on the prepared sheet and sprinkle them generously with both cheeses, then scatter the peppers and corn across each one like confetti.
- Close them up:
- Top each filled bunny with a second tortilla bunny shape, press down gently so they stick, then brush the tops with a thin coat of melted butter to encourage browning.
- Bake until golden:
- Slide into the oven for 8 to 10 minutes, watching until the cheese is bubbling slightly at the edges and the tortilla edges turn pale golden. The moment you see that slight color change, they're ready.
- Decorate with personality:
- Let them cool just enough that you can touch them, then gently press olive slices in for eyes, a carrot piece for the nose, and parsley sprigs for whiskers. The warmth of the quesadilla helps everything stick.
- Serve with joy:
- Arrange them on a platter and set out a small bowl of sour cream for dipping, which somehow makes the whole experience feel more intentional.
 Save to Pinterest
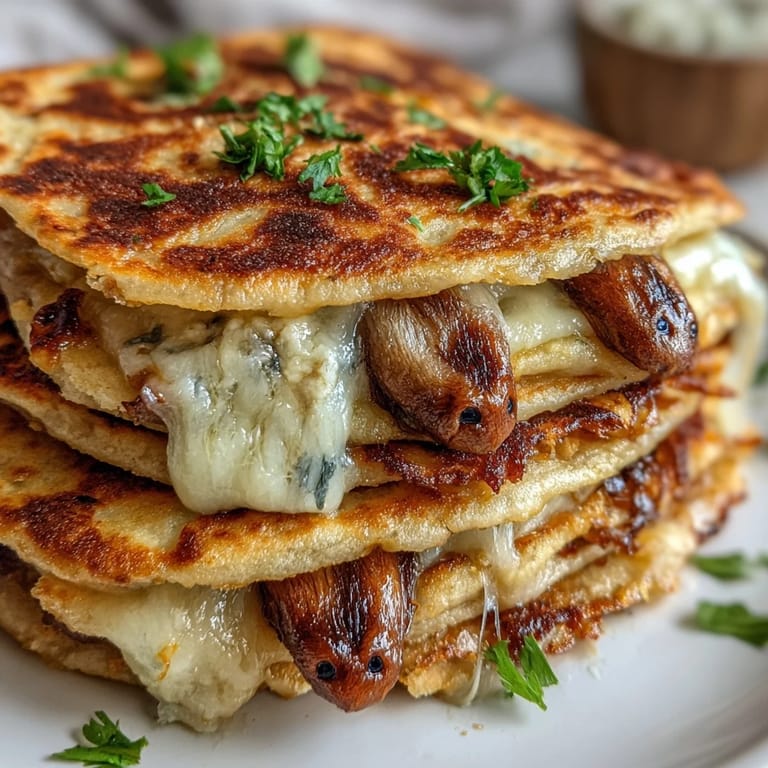
 There's something about watching someone's eyes go soft when they realize the meal in front of them was made with them in mind. One of my friends told me later that her daughter asked her why regular quesadillas couldn't be bunnies too, and suddenly that question felt like the highest compliment.
Making This a Crowd Pleaser
The beauty of this recipe is that everyone can customize their own before they go into the oven, which means no one's left out if they don't like corn or prefer extra cheese. Set up a little filling station and let people choose their own adventure; I've found that kids are infinitely more excited about eating something they helped assemble. Adults appreciate it too, honestly, because there's something nostalgic about being asked what you want and then getting exactly that.
How to Adapt for Different Diets
These bunnies are naturally vegetarian as written, but if you want to add protein, shredded rotisserie chicken or seasoned black beans fold in seamlessly without changing the cook time. You can also swap the tortillas for whole wheat or spinach versions, which adds nutrition and makes the bunnies look even more festive with their natural green color. The decoration stays the same, so your bunnies remain just as charming no matter what you stuff them with.
Timing and Storage Tips
These are best eaten fresh from the oven when the cheese is still warm and the tortilla still has just a hint of softness, but I've reheated leftovers in a 300-degree oven for about five minutes and they come back to life surprisingly well. You can prep the tortillas cut ahead of time and store them in an airtight container, and the filling components can be prepped the night before, which means less chaos on the morning you're serving them. If you're making these for a party, assemble them the morning of and bake right before serving, which is the best way to guarantee happy faces around the table.
- Unbaked assembled quesadillas can be refrigerated for a few hours if you cover them loosely with plastic wrap.
- Don't decorate with olive eyes and carrot noses until right before serving, or they'll slide off the melting cheese.
- Store leftovers in an airtight container in the fridge for up to two days, though they're honestly best eaten the day they're made.
 Save to Pinterest
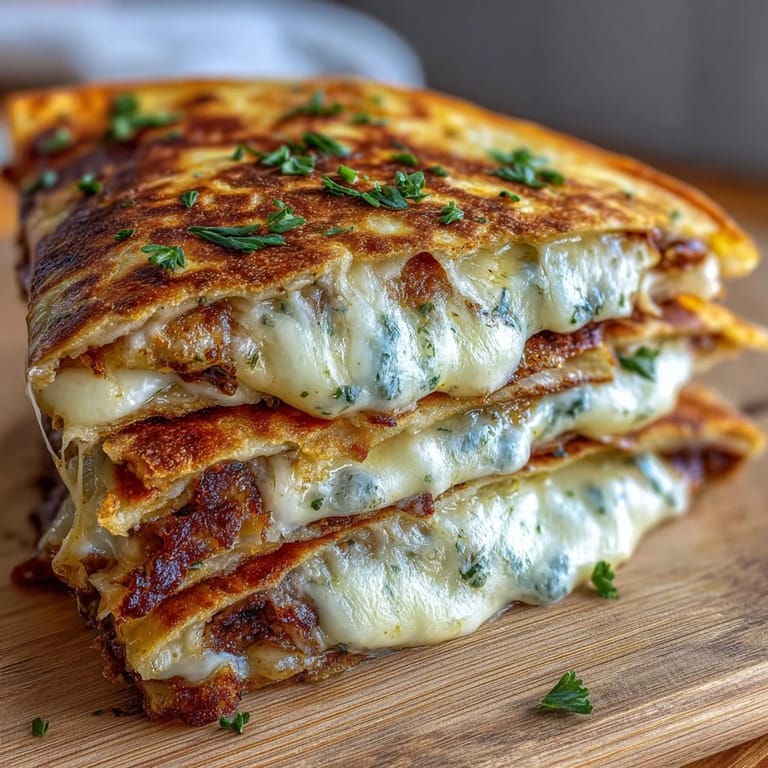
 These quesadillas remind me that cooking doesn't always need to be complicated to be memorable. The simplest recipes, dressed up with a little thought and care, are often the ones that stay with people longest.
Recipe Questions & Answers
- → Can I use different types of cheese?
Yes, feel free to substitute cheddar and mozzarella with your favorite melting cheeses like Monterey Jack or pepper jack for a spicy kick.
- → How do I keep the shapes intact while baking?
Use a sharp cookie cutter and bake on parchment paper to prevent sticking. Brushing with melted butter helps achieve a golden, crisp texture.
- → Are there vegetarian options for added protein?
Absolutely. Black beans or cooked shredded chicken can be added inside the quesadillas for extra protein without altering the flavor much.
- → Can whole wheat or alternative tortillas be used?
Yes, whole wheat or spinach tortillas work well and add extra nutrition and color to the quesadillas.
- → What is the best way to decorate the quesadillas?
Use black olive slices for eyes, baby carrot pieces for noses, and fresh parsley or cilantro sprigs for whiskers. Press gently so they stick while warm.