 Save to Pinterest
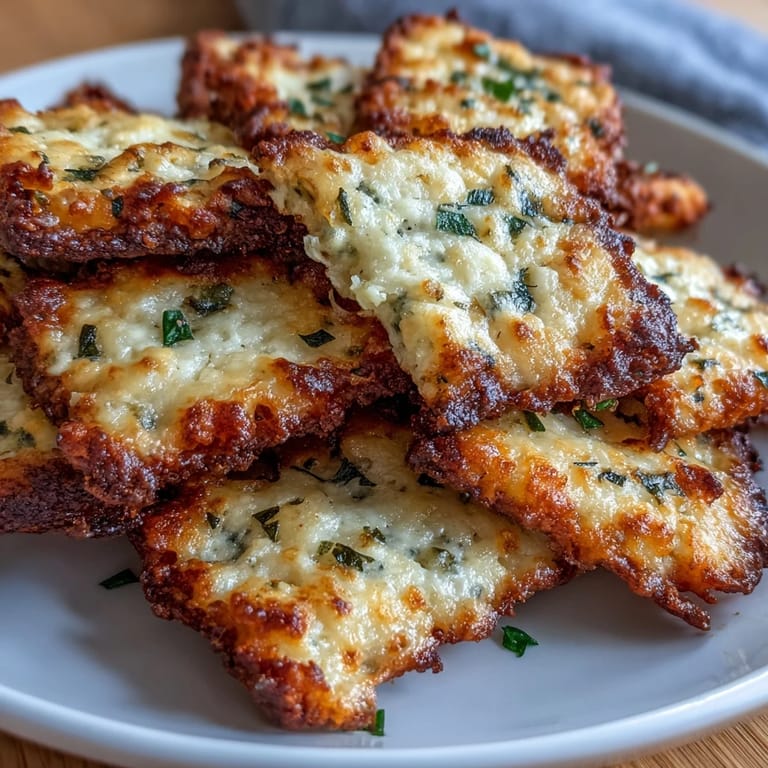
 There's something about the smell of sharp cheddar melting into butter that makes you feel like you've just discovered something secretly delicious. My neighbor once mentioned she bought fancy crackers every week without fail, and I thought, why not make them fresh instead? That afternoon, my kitchen filled with the aroma of toasted cheese and thyme, and within an hour I had golden, crispy crackers cooling on the rack—far superior to anything store-bought. Now I make a batch whenever I want that perfect snack that feels both effortless and impressive.
I made these for a wine tasting my friend threw together on a whim, and they disappeared within minutes—people were genuinely shocked they were homemade. Someone asked for the recipe, and when I told her it was just flour, butter, cheese, and herbs, she didn't believe me until she saw the ingredients lined up on my counter. That moment made me realize how satisfying it is to serve something so simple yet so much better than the alternative.
Ingredients
- All-purpose flour (1 1/4 cups): This is your structure—don't skip it or substitute it lightly, as it holds everything together without being heavy.
- Sharp cheddar cheese, finely grated (1 cup): The backbone of flavor here; mild cheddar will disappoint you, so reach for the orange, aged stuff that has real bite.
- Parmesan cheese, grated (2 tbsp): This adds depth and saltiness that sharp cheddar alone can't achieve—it's the secret ingredient most people don't expect.
- Fresh chives, finely chopped (2 tbsp): If using dried, cut the amount in half because dried herbs concentrate their flavor and can overpower the delicate balance.
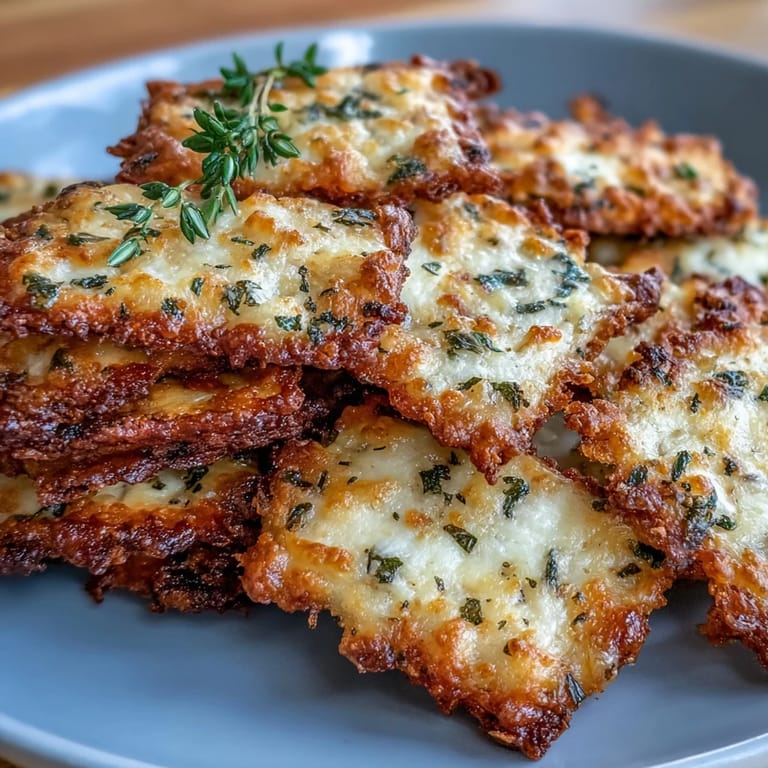
- Fresh thyme leaves (1 tbsp): Fresh thyme brings a slightly floral note that dried thyme can't match, though dried works in a pinch with half the amount.
- Cold unsalted butter, cubed (4 tbsp): Keep this cold—seriously cold—so the crumb texture stays tender and flaky instead of dense and tough.
- Salt and freshly ground black pepper: Freshly cracked pepper makes a noticeable difference; pre-ground tastes flat by comparison.
- Cold water (3–4 tbsp): Add this slowly and sparingly; too much turns the dough sticky and ruins the texture.
Tired of Takeout? 🥡
Get 10 meals you can make faster than delivery arrives. Seriously.
One email. No spam. Unsubscribe anytime.
Instructions
- Heat your oven and prep your workspace:
- Set the oven to 350°F and line a baking sheet with parchment paper so your crackers don't stick and you have an easy cleanup. This small step saves you from disappointment later.
- Combine dry ingredients and cheese:
- Toss the flour, salt, pepper, both cheeses, and herbs together in a large bowl until everything is evenly distributed and you can't see any clumps of cheese. This ensures every cracker gets that herby, cheesy goodness in every bite.
- Work in the cold butter:
- Add your cold butter cubes and use your fingertips or a pastry cutter to rub it into the flour mixture until it looks like coarse breadcrumbs with some pea-sized pieces of butter still visible. This texture is what makes the crackers crispy rather than dense.
- Add water and bring the dough together:
- Drizzle in cold water one tablespoon at a time, mixing gently with a fork until the dough just barely holds together when you squeeze it. Stop here—overworking it makes tough crackers, and you want them tender.
- Roll out your dough:
- On a lightly floured surface, gently roll the dough to about 1/8 inch thick, which is thin enough to crisp up beautifully in the oven without burning. Use even pressure and turn the dough as you go so it doesn't tear.
- Cut and prick:
- Cut into 1-inch squares or use cookie cutters for fun shapes, then place them slightly apart on your prepared baking sheet and use a fork to prick each one. The little fork holes help them bake evenly and look rustic.
- Bake until golden:
- Bake for 18 to 22 minutes, watching around the 15-minute mark so you catch them right when they turn golden and crispy but before they darken too much. They'll continue to crisp up a bit as they cool.
- Cool and store:
- Transfer the crackers to a wire rack immediately so the steam escapes and they stay crispy; cooling them on the hot pan softens them.
 Save to Pinterest
 A few months ago, my teenage nephew stayed for the weekend and ate an entire batch of these with cream cheese and cucumber slices—no exaggeration, the whole tin. He asked if I could teach him how to make them because store-bought crackers felt boring after that, and watching him discover that homemade food doesn't have to be complicated made my day.
Flavor Combinations to Try
Once you've nailed the basic recipe, you can play around with different cheeses and herbs without changing the technique at all. Gruyère gives you a nutty, sophisticated flavor that pairs beautifully with rosemary, while aged Gouda brings a smoky sweetness that works with oregano and a whisper of garlic powder. I've also made batches with crumbled blue cheese and sage that sent people straight back for seconds, so don't be afraid to get creative based on what's already in your fridge.
Adding Heat and Depth
If you want to push these beyond basic savory, a generous pinch of cayenne pepper adds gentle heat without overwhelming the cheese, while smoked paprika brings a deeper, almost mysterious flavor that reminds me of barbecue. Some people swear by adding a tiny bit of garlic powder or even everything bagel seasoning to the mix, and honestly, both work brilliantly. Just remember that dried spices are more intense than fresh herbs, so start with less than you think you need.
Storage and Serving Tips
These crackers stay crispy for up to a week in an airtight container, though they'll never make it that long if anyone discovers them in your pantry. If they do soften somehow, you can recrisp them in a 300°F oven for about 5 minutes, and they'll taste like you just baked them. Serve them with cream cheese and jam for breakfast, alongside a cheese board for dinner, or simply with nothing but your appetite.
- Make a double batch and freeze the rolled-out dough disks between parchment paper so you can bake fresh crackers whenever the craving hits.
- Cut them into different shapes—diamonds, hearts, or small rectangles—to make them feel more special without any extra effort.
- Store them at room temperature, never in the fridge, or they'll absorb moisture and lose their crispy texture.
 Save to Pinterest
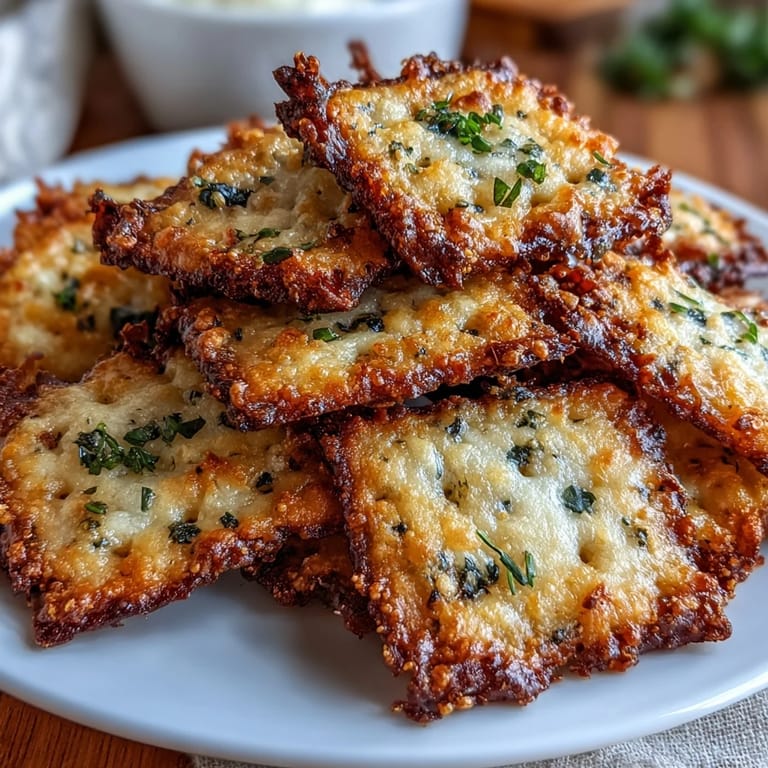
 There's real joy in making something this good with ingredients you probably already have on hand, and the reward is crackers that taste like pure comfort. These are the kind of snack that makes you feel proud to serve them, even when they're technically effortless.
Recipe Questions & Answers
- → What cheeses work best in this snack?
Sharp cheddar and Parmesan provide a rich, savory depth. You can also try Gruyère or aged Gouda for different flavor profiles.
- → How do fresh herbs influence the flavor?
Fresh chives and thyme add aromatic and slightly earthy notes, balancing the richness of the cheeses.
- → Can these crackers be made gluten-free?
Substituting all-purpose flour with a gluten-free blend works but may affect texture slightly.
- → What is the best way to store these crackers?
Keep them in an airtight container at room temperature to maintain crispness for up to one week.
- → Is it possible to add spice to these crackers?
Yes, a pinch of cayenne or black pepper can add a gentle heat without overpowering the savory flavors.